基于Github快速搭建一个Hexo博客
未完待续
下面的整个过程需要你的网络能正常访问Github
1. 配置环境
1.1 安装Git和Node.js
Git - Downloading Package (git-scm.com)
Node.js — Run JavaScript Everywhere (nodejs.org)
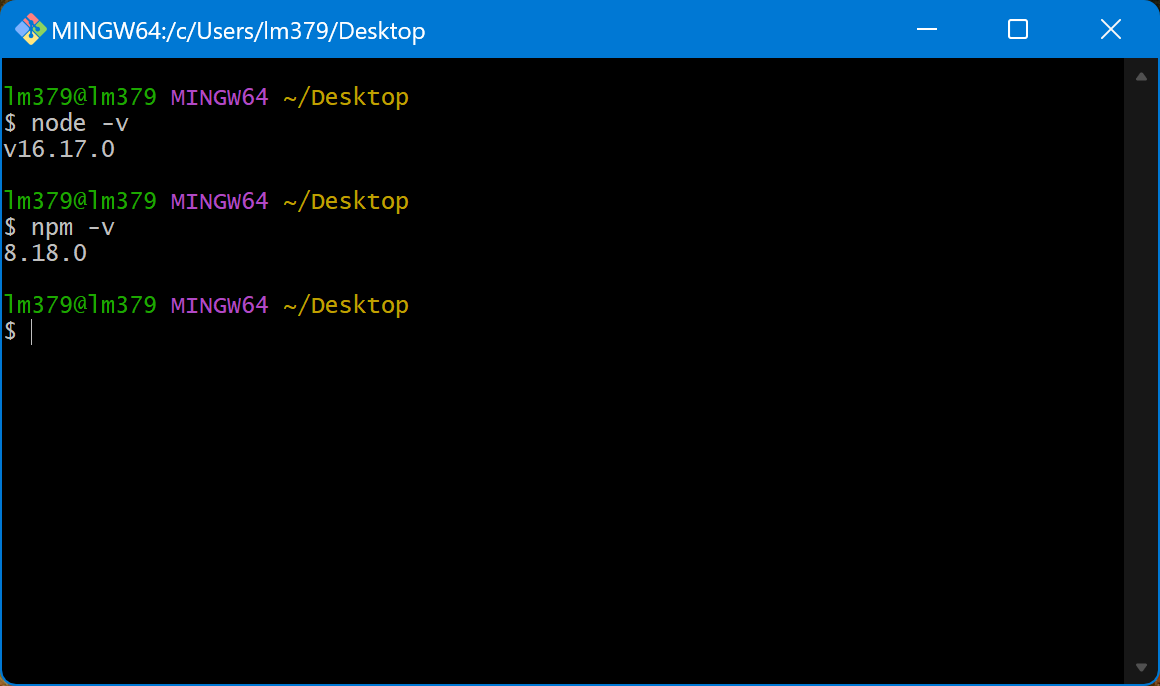
安装完后任意位置右键选择 Git Bash Here进入命令行,依次输入
1 | node -v |
出现版本号即安装成功

1.2 连接Github
先自己去GitHub注册一个账号
然后在上面Git命令行中依次输入下面两行命令(不要无脑复制粘贴,记得把Github用户名和邮箱替换成自己的)
1 | git config --global user.name "GitHub用户名" |
(可选)创建SSH密钥并添加到github
下面的这一步个人实测是可以省略的,部署到github使用https协议即可
Git Bash输入 ssh-keygen -t ed25519 -C "[email protected]",然后一路回车,直到命令行出现SSH密钥生成成功为止
然后进入 C:\Users\你的windows用户名\.ssh目录下找到 id_ed25519.pub,用记事本打开,复制所有内容
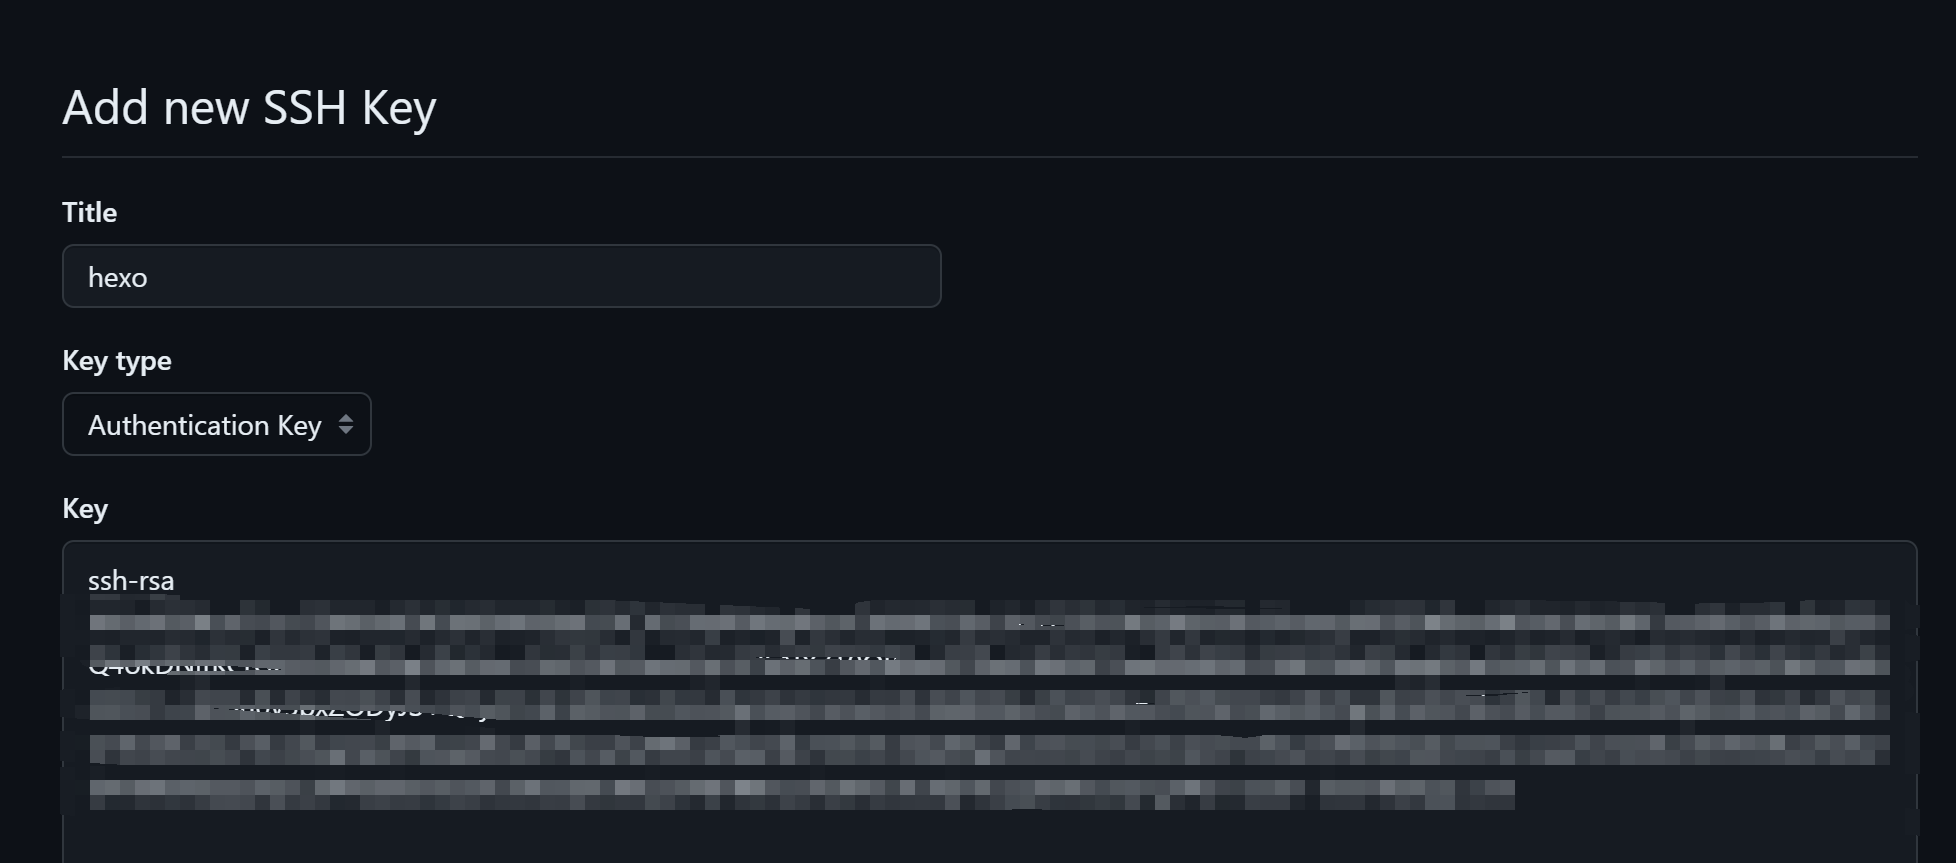
回到Github,登录你的账号后点击自己的头像,点击Settings,再点击SSH and GPG keys,new ssh key
title随便写,key填写刚刚复制的

回到Bash,输入 ssh -T [email protected],如果出现 You've successfully authenticated, but GitHub does not provide shell access. 即表示连接成功
如果出现像下面一样的连接被拒绝,也不用慌,后续使用https协议部署即可

1.3 创建Github仓库
进入Github创建一个仓库,仓库名必须为 你的github用户名.github.io,比如我的仓库名为 lm379.github.io
1.4 安装Hexo
2. 安装Hexo
先创建一个目录用于存放hexo的代码,比如我创建在 D:\hexo
进入该目录,在任意位置右键选择 Git Bash Here进入命令行
国内用户建议先执行下面这行命令更改npm镜像源,否则后续安装会非常慢
1 | npm config set registry https://registry.npmmirror.com |
然后输入
1 | npm install -g hexo-cli |
等待安装完成后输入
1 | hexo -v |
出现版本号即安装成功
3. 初始化hexo
命令行输入
1 | hexo init |
会自动开始拉取文件,等待拉取完成即可
若使用了代理工具,请自行在git中配置HTTP代理或者Socks5代理
下面的1080端口是代理工具HTTP代理端口,请替换成自己的
全局代理
1 | git config --global http.proxy socks5://127.0.0.1:1080 |
仅Github走代理
1 | git config --global http.https://github.com.proxy socks5://127.0.0.1:1080 |
4. 配置hexo
4.1 生成博客并本地预览
此时可以输入
1 | hexo g && hexo s |
然后打开 http://localhost:4000 即可看到hexo的默认页面
4.2 部署到Github
输入
1 | npm install hexo-deployer-git --save |
打开 D:\hexo\_config.yml,找到 deploy 字段,将repo修改为
1 | deploy: |
若后续部署报错类似下图,可修改为下面的

1 | deploy: |
然后输入
1 | hexo d |
等待上传完毕后访问 你的用户名.github.io即可看到博客了